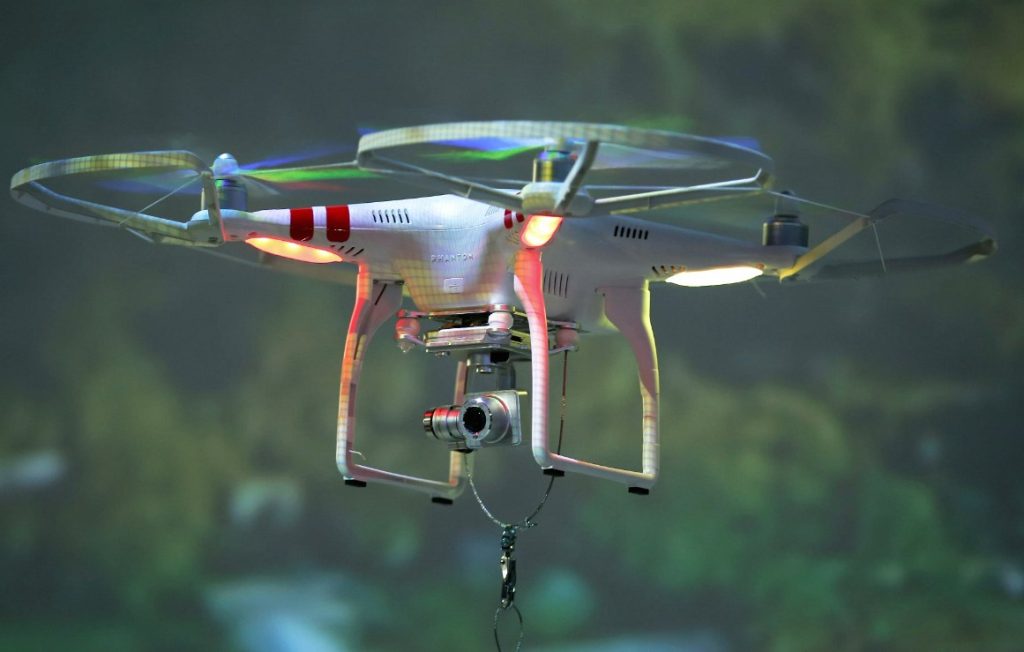
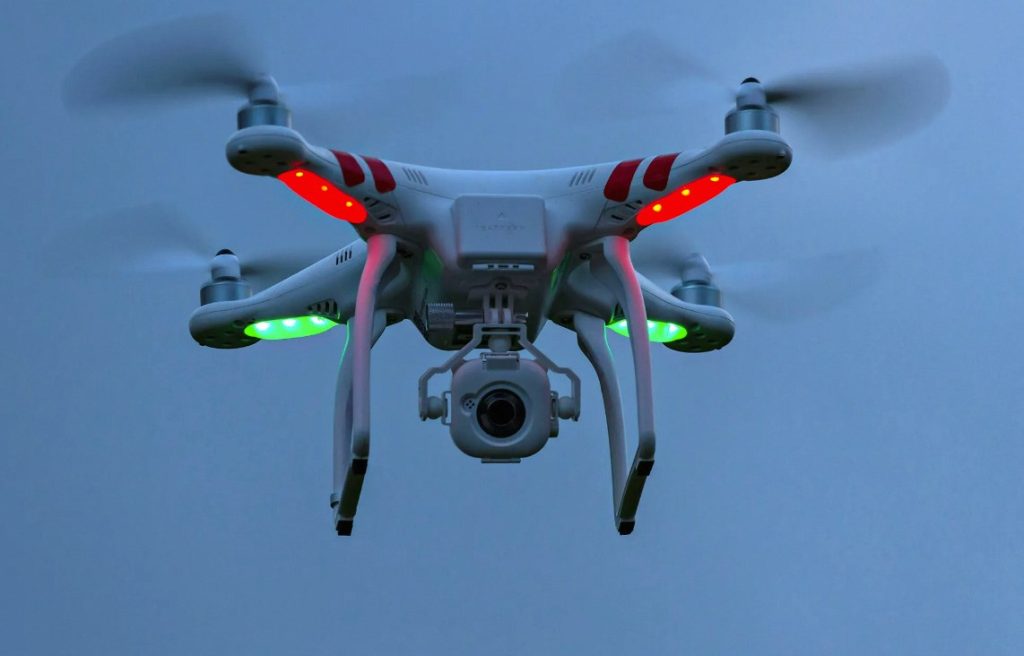
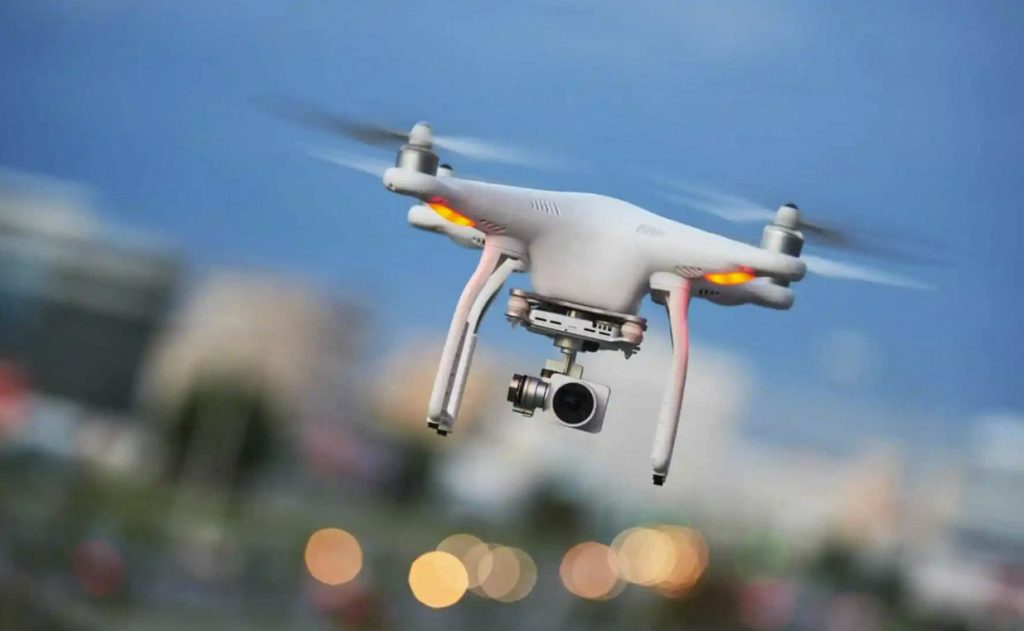
Ever dreamed of capturing aerial photos or having your own personal flying camera? Building your own drone might seem intimidating, but with the right guidance and readily available parts, it’s an achievable and rewarding project. This guide takes you through the 5 essential steps to create your very own drone, perfect for beginners or hobbyists looking for a fun challenge.
Part 1: Prepare for Takeoff – Gathering the Essentials
Choosing Your Frame:
The frame is the skeleton of your drone, holding all the components together. Beginner-friendly options include pre-built lightweight plastic frames readily available online. Consider factors like size, weight capacity, and durability when making your selection.
Selecting the Powerhouse – Motors and Propellers:
The motors and propellers are responsible for generating thrust and propelling the drone. Choose brushless motors, known for their efficiency and quiet operation. Select propellers compatible with your chosen motors and ensure they are properly balanced for smooth flight.
The Brain Behind the Brawn – Flight Controller:
The flight controller is the heart of your drone, processing information from sensors and controlling the motors for stable flight. Popular options include open-source controllers like Arduino or pre-programmed models offering user-friendly interfaces.
Power Up – Battery and Charger:
A Lithium-polymer (Li-po) battery provides the power for your drone. Choose a battery with the right capacity and voltage to ensure sufficient flight time and compatibility with your motors. Don’t forget a suitable Li-po battery charger for safe and efficient charging.
Taking Control – Transmitter and Receiver:
The transmitter acts as your remote control, sending signals to the receiver on the drone. The receiver then translates those signals into instructions for the flight controller. Ensure your chosen transmitter and receiver operate on the same frequency for seamless communication.
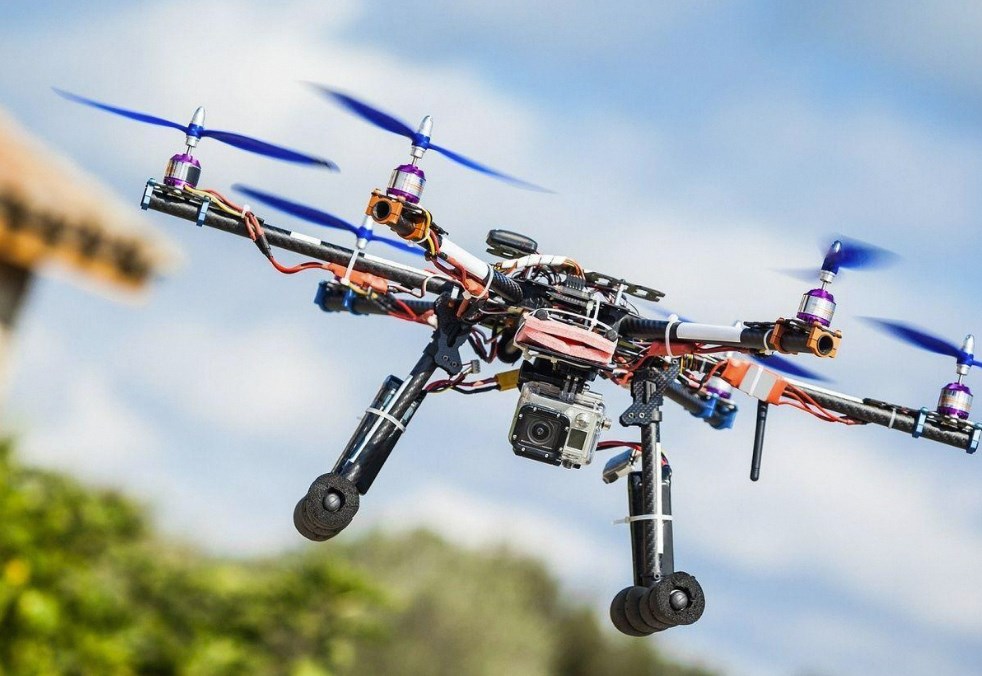
Part 2: Assembly Fundamentals – Putting it All Together
Securing the Frame:
Carefully affix the motors onto the designated areas on the frame, utilizing the supplied screws and motor mounts for a secure installation. Take the time to verify the motor direction, ensuring that each motor is aligned according to the specifications outlined in the frame’s instructions. This step ensures that the motors rotate in the intended direction, whether clockwise or counter-clockwise, to facilitate seamless operation of the equipment. Double-checking the motor direction as per the frame’s instructions is crucial in preventing potential issues or malfunctions during operation. By meticulously following these guidelines, you can guarantee the correct alignment and functionality of the motors, contributing to the overall efficiency and performance of the equipment. Moreover, ensuring the accurate installation and configuration of the motors is essential for the optimal functioning and longevity of the equipment, making it imperative to adhere to the specified motor orientation as detailed in the frame’s instructions.
Propeller Pairing:
Attach the propellers to the motor shafts, ensuring they are securely fastened and aligned correctly. Remember, opposing propellers (diagonally positioned) should spin in opposite directions for balanced flight.
Flight Controller Connection:
Following the manufacturer’s instructions, connect the flight controller to the motors using electronic speed controllers (ESCs). These ESCs regulate the power sent to each motor, allowing the flight controller to maneuver the drone.
Powering Up:
Connect the Li-po battery to the power distribution board (PDB) on the flight controller, ensuring proper polarity (red to positive, black to negative). Double-check all connections for tightness and proper orientation before powering on.
Software Setup:
Most flight controllers require software configuration using a computer. Download the necessary software and follow the manufacturer’s instructions to calibrate the ESCs, sensors, and set up flight modes for optimal performance.
Part 3: Pre-Flight Checklist – Safety First!
Clear Flight Area:
Choose a spacious, open area free from obstacles and potential hazards for your first test flights. Avoid flying near power lines, crowds, or buildings.
Battery Check:
Ensure your Li-po battery is fully charged and securely fastened within the drone’s frame. Li-po batteries require proper handling and charging practices, so always follow the manufacturer’s safety guidelines.
Connection Confirmation:
Turn on your transmitter and receiver, then power up the drone. Verify that the receiver on the drone receives signals from the transmitter by checking for control surface movement (e.g., propeller response to stick movements).
Calibration Time:
Before taking off, perform a pre-flight calibration routine as recommended by your flight controller’s software. This ensures the sensors and control inputs are functioning accurately.
Start Low, Go Slow:
For your first flight, begin with short, gentle movements on the transmitter sticks. Observe the drone’s response and make minor adjustments to the flight controller settings if necessary. Always prioritize safety and avoid pushing the drone’s limits during initial test flights.
Part 4: Taking Flight! – Your First Steps as a Pilot
Beginner Maneuvers:
Practice basic controls like throttle (altitude), yaw (turning), pitch (forward/backward tilt), and roll (sideways tilt). Master these maneuvers gradually, focusing on smooth and controlled movements.
Flight Time Management:
Li-po batteries have limited flight times. Always keep an eye on the battery voltage displayed on the transmitter or flight controller software. Land the drone well before the battery reaches critically low levels to avoid damage.
Practice Makes Perfect:
The key to becoming a skilled drone pilot is consistent practice. Start in open areas with minimal wind and gradually increase flight complexity as you gain confidence. Don’t be discouraged by minor crashes; learn from them and refine your piloting skills.
Safety Always Comes First:
Never fly your drone near people, animals, or sensitive areas. Be aware of local regulations regarding drone usage and obtain necessary permits if required. Always prioritize safety and responsible flying practices.
Part 5: The Sky’s the Limit – Beyond the Basics
Upgrading Your Drone:
As you gain experience, consider upgrading your drone with additional components like a camera gimbal for stabilized aerial photography, or long-range antennas for extended flight distances. The possibilities are endless!
Joining the Drone Community:
Connect with other drone enthusiasts online or in local clubs. Share experiences, learn from others, and participate in drone events to enhance your skills and explore the exciting world of aerial robotics.
The Future of Flight:
The world of drones is constantly evolving. Stay curious, explore new technologies, and keep learning. Who knows, maybe your DIY project will inspire you to become a future drone innovator!
Building your own drone is an exciting and rewarding journey. By following these steps, gathering the necessary components, and prioritizing safety, you’ll be well on your way to conquering the skies with your very own creation. So, get started, embrace the challenge, and enjoy the thrill of flight!