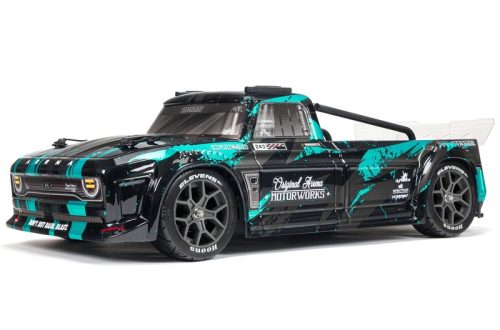
The world of RC cars offers endless possibilities for customization and tinkering. But what if you could take it a step further and build your own RC car from scratch? This guide empowers you to embark on that exciting journey, transforming your vision into a one-of-a-kind remote-controlled machine.
Part 1: Planning and Preparation
1.1 Define Your Design and Purpose:
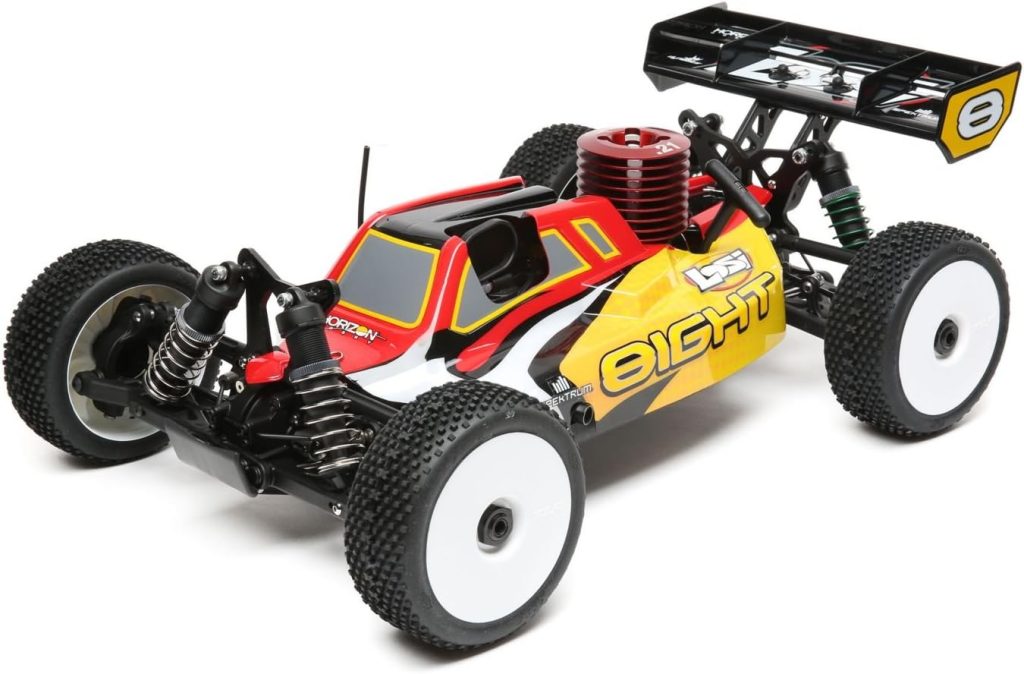
The initial phase in creating a custom RC car involves conceptualizing the vehicle. Consider the intended purpose of the car; will it be a nimble off-road rock crawler, a sleek street racer, or a rugged monster truck? This decision plays a critical role in guiding your design choices and component selection, as different purposes require specific features and capabilities. Once the purpose is determined, it’s beneficial to sketch out the design or utilize 3D design software to visualize your creation. This step allows for a comprehensive exploration of various design elements, such as the vehicle’s proportions, wheel placement, and overall aesthetics, ensuring that the vision for the custom RC car is fully realized. By carefully considering the car’s intended use and utilizing visualization tools to refine the design, you can create an RC car that’s tailored to your specific preferences and intended functions.
1.2 Gathering the Necessary Tools and Materials:
Once you have a clear design in mind, compile a list of necessary tools and materials. Here are some essentials to get you started:
Tools: Cutting tools (rotary tool, hacksaw), screwdrivers, pliers, soldering iron (for electronic components)
Materials:
Chassis: Depending on your design, you can use a pre-cut chassis kit, metal or plastic sheets, or even 3D-printed parts.
Drivetrain: This includes the motor, transmission (if needed), driveshafts, differentials, and wheels. The choice will depend on your car’s purpose and desired power.
Steering System: This typically consists of a servo motor, linkages, and a steering horn.
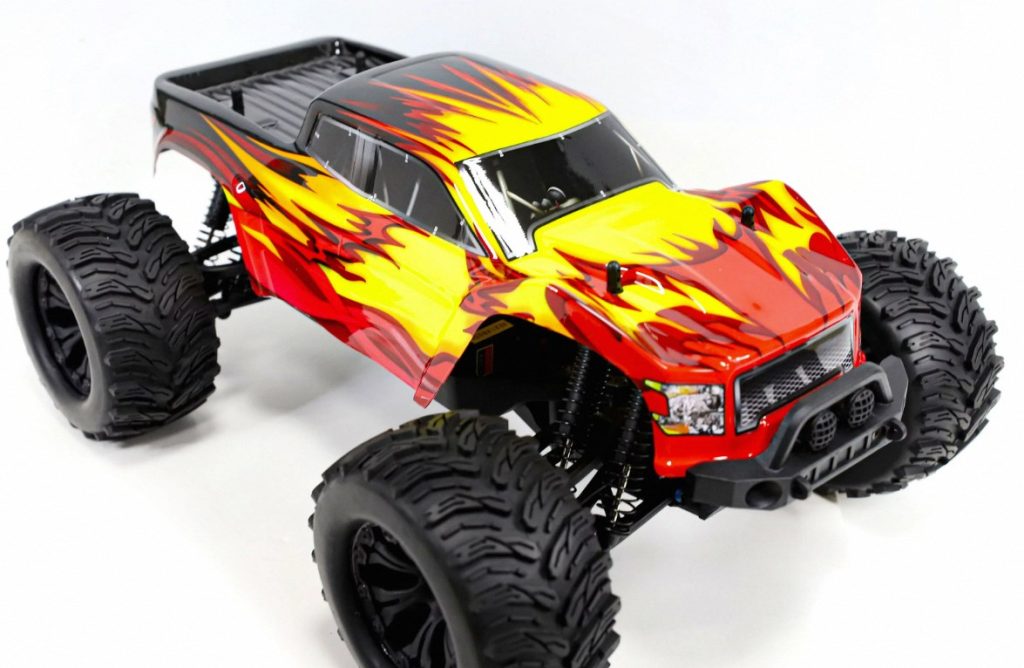
Electronics: This includes a speed controller (ESC), receiver, and battery. Choose components compatible with each other and suitable for your motor’s power output.
Wheels and Tires: Select wheels and tires that complement your car’s design and purpose. For example, off-road tires with good tread depth are ideal for rock crawlers, while smooth street tires offer better grip for racing.
Body (Optional): You can fabricate a body from sheet plastic or utilize a pre-made body shell.
Part 2: Building the Chassis
2.1 Crafting the Foundation:
The chassis serves as the fundamental structure of your RC car, providing the foundation for the vehicle’s overall stability and performance. When working with a pre-cut kit, it’s essential to meticulously follow the assembly instructions to ensure that the chassis is properly assembled and aligned. For those building from scratch, it’s advisable to use durable metal or plastic sheets to create a sturdy and reliable chassis base that can withstand the rigors of racing. Pay careful attention to the chassis design, ensuring that it can effectively accommodate the motor, battery, electronics, and any other necessary components. Additionally, it’s important to carefully cut precise holes in the chassis to facilitate motor mounting and provide easy access to electronic components, enabling seamless integration and optimal functionality. Prioritizing precision and attention to detail during the construction of the chassis is essential for setting the stage for a well-performing and resilient RC car.
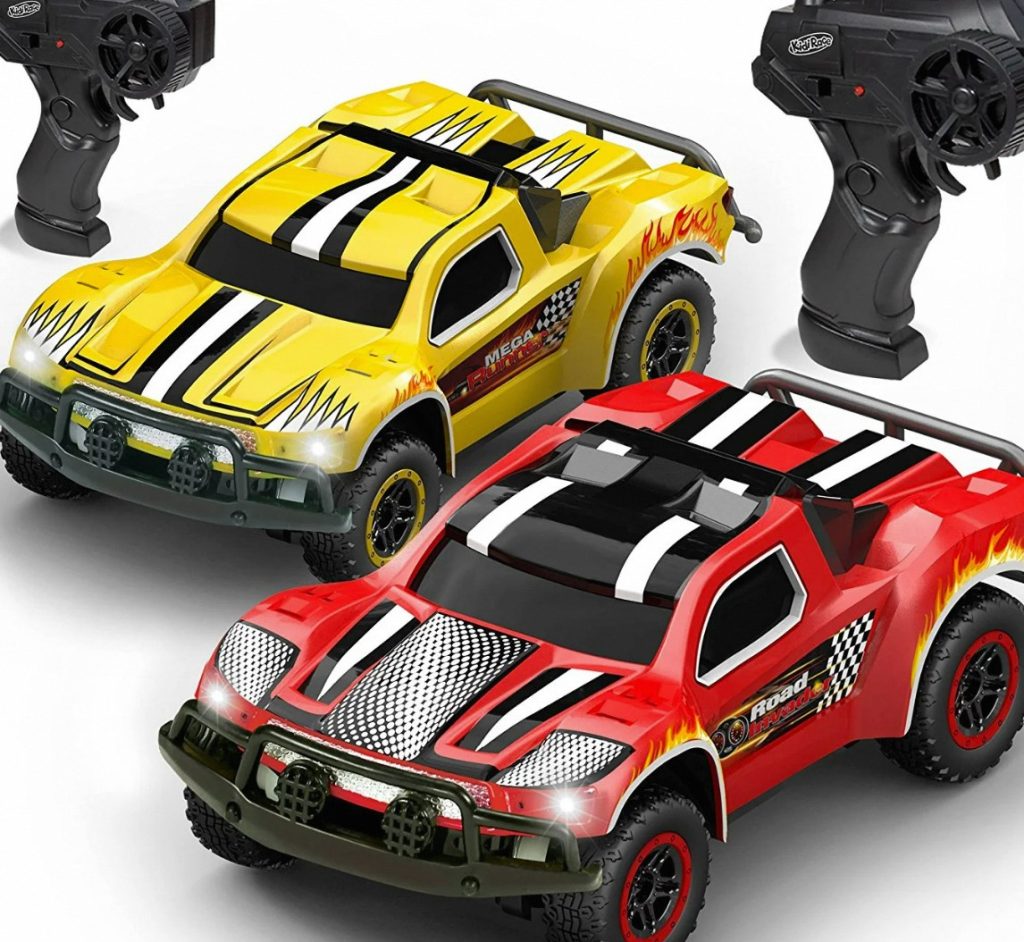
2.2 Reinforcing for Durability:
When preparing your RC car for rugged terrain, it’s important to consider reinforcing the chassis. This is especially crucial for off-road vehicles that will encounter rough and uneven surfaces. One effective method is to add bracing bars or gussets made from thin metal sheets to strengthen vulnerable areas of the chassis. These reinforcements help to distribute stress and prevent chassis flex during operation, ultimately enhancing the durability and performance of the vehicle. By strategically placing these reinforcements, such as underneath the chassis or near suspension mounting points, you can significantly reduce the risk of structural damage and ensure that the RC car can withstand the demands of challenging terrains. Prioritizing chassis reinforcement is a proactive measure that can minimize the risk of damage and increase the longevity of your RC car, allowing it to thrive in rugged and demanding conditions.
Part 3: Installing the Drivetrain and Steering System
3.1 Powering Your Creation:
Firstly, carefully mount the chosen motor securely onto the chassis, ensuring that it is aligned properly with the drivetrain components. This step is crucial for the efficient transfer of power from the motor to the wheels, ultimately affecting the RC car’s performance on the track. Secondly, install the transmission, driveshafts, differentials, and wheels onto the chassis. Pay close attention to ensure that each component is properly seated and fastened. After the installation, it is important to verify that everything meshes smoothly and spins freely with minimal friction. Any unnecessary friction could hinder the RC car’s speed and performance during races. By ensuring that the drivetrain components are properly installed and functioning smoothly, the RC car will be better equipped to handle the high-speed demands and challenging terrains of racing. These steps are essential in preparing the RC car for optimal performance on the track.
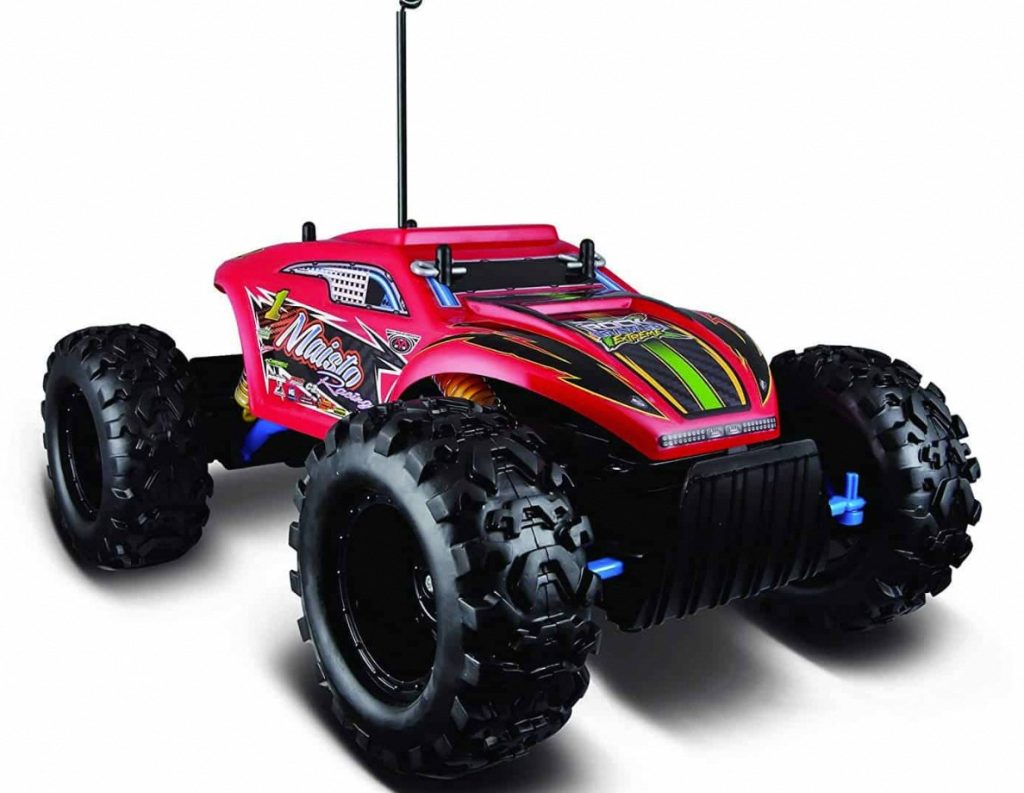
3.2 Steering for Precision Control:
Install the servo motor onto the chassis, following the manufacturer’s instructions. Connect the servo horn to the steering linkage system, which will be responsible for translating steering wheel movements on the transmitter to directional changes of the car’s front wheels. Ensure the linkages move freely and precisely with minimal binding.
Part 4: Completing the Build and Programming
4.1 Electronics Integration:
First, secure the speed controller (ESC) and the receiver in the designated locations on the chassis. This ensures that the components are placed securely and won’t interfere with the car’s performance. Then, carefully connect the motor, servo, and receiver to the ESC following the ESC’s wiring diagram. It’s essential to connect them properly to ensure that they function effectively during races. Once the connections are made, double-check each connection for proper polarity. This step is crucial to prevent any electrical issues or malfunctions. To further secure the connections, you can use electrical tape or heat shrink tubing to prevent accidental disconnections. These additional steps are a precautionary measure, ensuring that the electrical components remain properly connected and secure during the intense and high-speed maneuvers of RC car racing. Always remember to prioritize safety and attention to detail during these crucial installation processes.
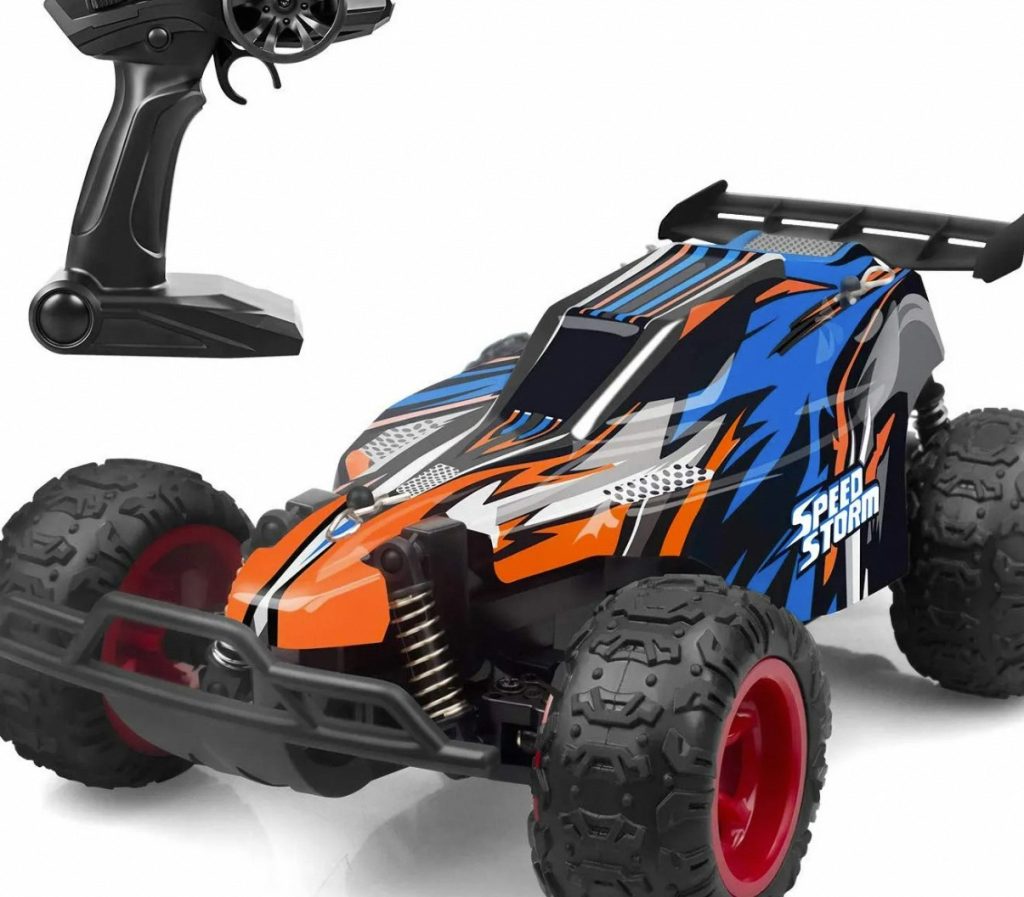
4.2 Programming and Testing:
With the electronics installed, it’s time to program the ESC and receiver using the included software or buttons. Follow the instructions to calibrate the throttle and steering controls to ensure smooth and proportional control over the car’s movements. Perform a final check of all connections and components before powering on the RC car.
Congratulations! You’ve successfully built your very own custom RC car. Take it for a test run in a safe and controlled environment, fine-tuning the controls and making adjustments as needed. Remember, building and customizing RC cars is an ongoing process. As you gain experience, you can experiment with different components, modifications, and body designs to create a truly unique and high-performing RC car that reflects your creativity and passion for the hobby.
