Choosing the Right Model and Components
When starting to build a RC car, deciding on the right type and components is crucial. This initial choice will influence every aspect of your build from performance to maintenance.Learn about how to build a rc car.
Electric vs. Nitro RC Cars
Choosing between electric and nitro RC cars is fundamental. Electric cars are quieter, less polluting, and generally easier to maintain than nitro cars. They’re suitable for beginners. On the other hand, nitro cars are fueled by nitro methane and offer a more authentic driving experience with engine noise and smoke, but they require more complex maintenance.
Selecting the RC Car Kit
Select a kit that aligns with your skill level. Beginners should opt for a kit that includes comprehensive instructions and is noted for ease of assembly. Experienced builders might choose customizable kits that allow for more modification and adjustment.
Essential Tools for RC Car Assembly
To assemble your RC car, you’ll need several tools:
- Screwdrivers: A varied set of Phillips and flat-head screwdrivers.
- Pliers: Needle-nose pliers are especially useful.
- Hex Wrenches: These are critical for handling RC-specific bolts and screws.
- Soldering Iron: Needed for electronics assembly in electric RC cars.
Having the appropriate tools can significantly ease the assembly process and ensure a smoother building experience.
Unboxing Your RC Car Kit
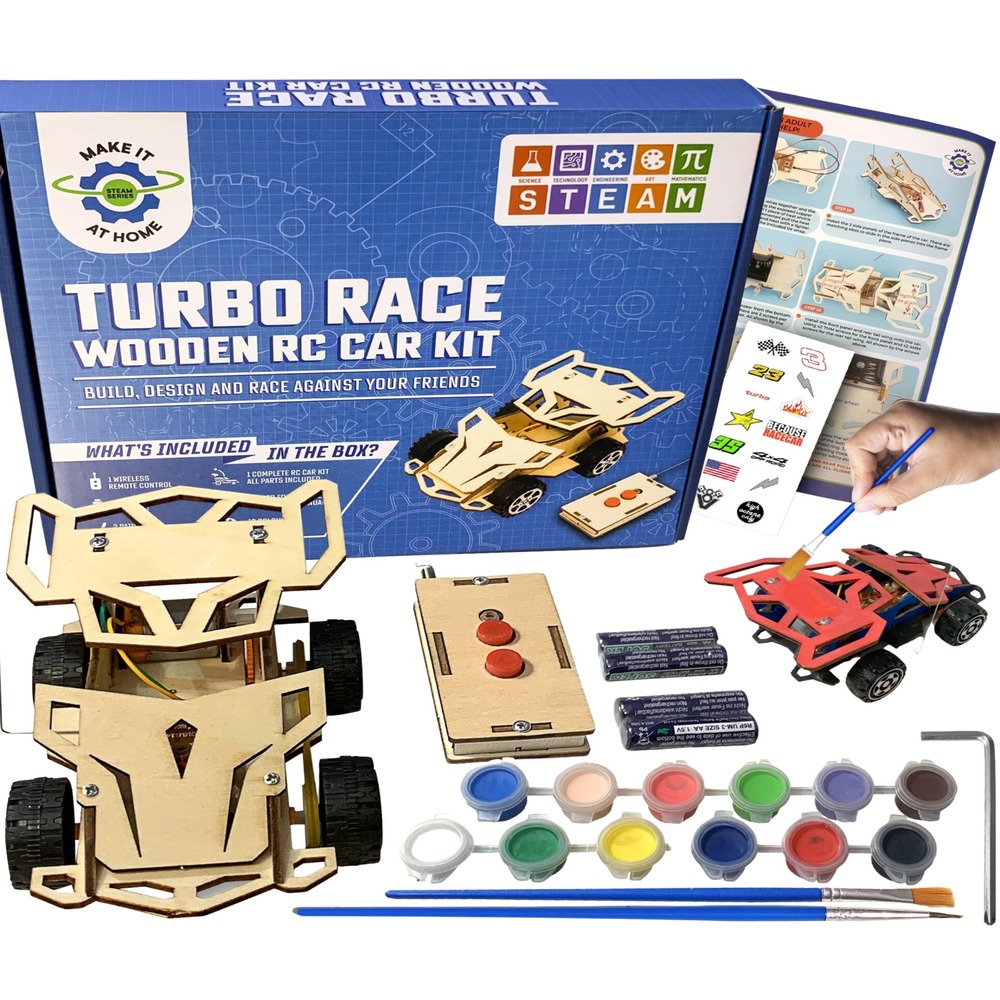
Unboxing your brand-new RC car kit is an exciting first step toward building your own remote-controlled vehicle. It’s crucial to approach this phase with methodical care to ensure that every component is accounted for and that you understand what each part is for. This initial step sets the stage for a successful assembly and ultimately, a well-functioning RC car.
Inventory of Parts
Once you open your RC car kit, spread out all the parts on a clean, flat surface. Make a checklist from the instruction manual, and tick off each item as you verify its presence. This will help you spot any missing components before you begin the assembly. Typical parts in an RC car kit include the car body, chassis, wheels, motor or engine, screws, and electronic components like the speed controller and receiver.
Understanding the Instruction Manual
Do not overlook the importance of thoroughly reading the instruction manual. It’s not just about following the step-by-step assembly instructions; it’s also about understanding the functions and requirements of different parts. Pay special attention to any warnings or recommendations to avoid common mistakes. This guide is designed to help you leverage your kit fully and will often include troubleshooting tips, which can be invaluable.
Assembling the Chassis
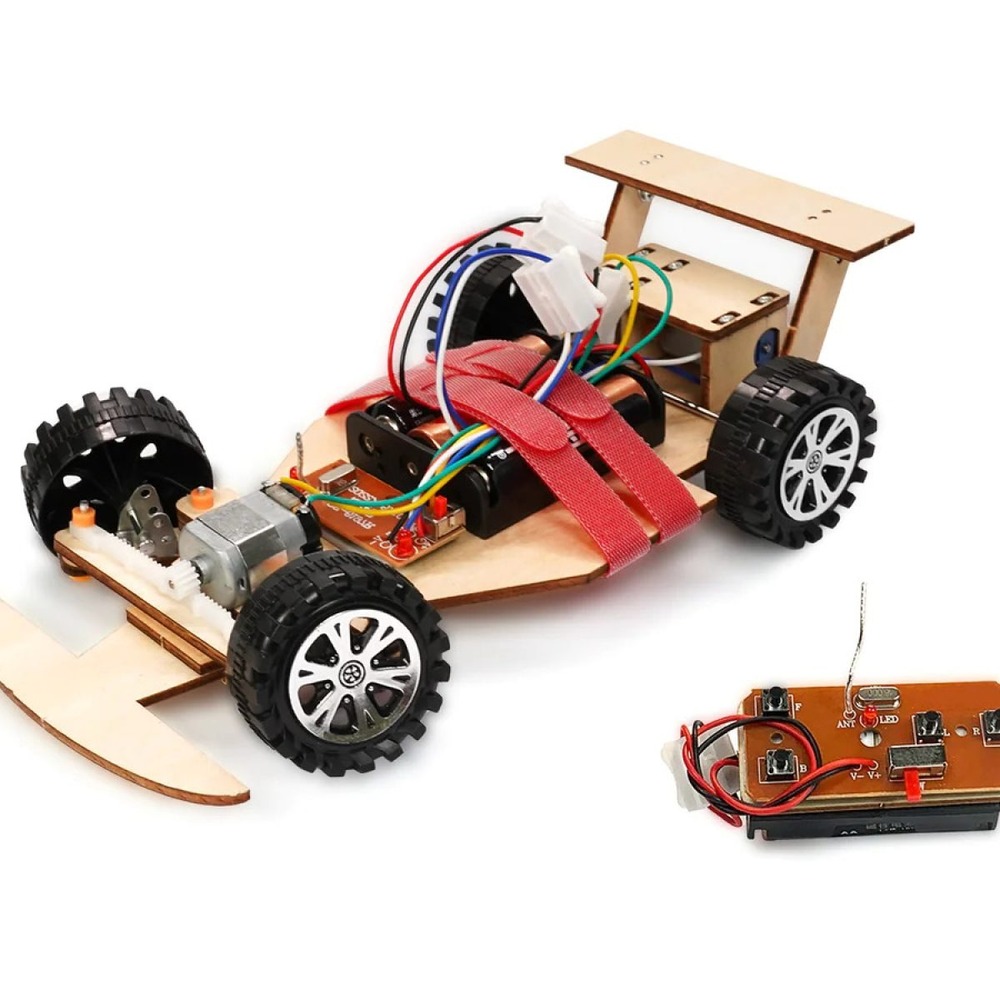
Assembling the chassis is pivotal in building your RC car. The chassis acts as the skeleton, providing the necessary stability and framework for all other components.
Installing the Suspension System
Begin by installing the suspension system. This system cushions the vehicle from bumps and maintains handling stability. Follow the kit’s instructions to attach shock absorbers and springs to the chassis.
Attaching the Wheels and Tires
After the suspension, attach the wheels and tires. Ensure each wheel is securely fastened with screws. Proper alignment is crucial; refer to your instruction manual for specific guidance.
Mounting the Motor or Engine
Finally, secure the motor or engine onto the chassis. For electric RC cars, connect the motor using the mount and screws provided. Nitro cars may require more complex engine installation. Double-check all connections to ensure they are tight and correctly aligned.
Electronics and Power System
As you progress in building your RC car, the electronics and power system set-up is crucial. This section will guide you through wiring the electric speed controllers, connecting the receiver and servos, and selecting the correct battery.
Wiring the Electronic Speed Controller
Start by wiring the electronic speed controller (ESC). The ESC is the heart of your electric RC car, handling the power distribution to the motor. Follow the manual carefully to connect the ESC to the motor and battery. Ensure that all connections are secure and insulated to prevent short circuits.
Connecting the Receiver and Servos
Next, connect the receiver and servos. The receiver acts as the communication hub between your remote control and the car’s components. Attach the servos to the receiver; these will control the steering and throttle mechanisms. Check that all plugs fit tightly and are correctly oriented to ensure responsive control.
Battery Selection and Installation
Finally, choose and install the battery. Select a battery that matches your car’s specifications—typically a lithium polymer (LiPo) or nickel-metal hydride (NiMH) battery. Position the battery securely within the chassis and connect it to the ESC. Always double-check for a firm connection to avoid power interruptions during operation.
Make sure to handle batteries with care and follow safety guidelines to prevent injury or damage.
Body and Aesthetics
Once the mechanics of your RC car are assembled, it’s time to focus on its appearance. Body and aesthetics are not just about looks; they protect the inner components and can affect performance. Let’s explore how to give your RC car a unique and attractive finish.
Painting the RC Car Body
Painting is the first step in customizing your RC car’s appearance. Choose paint that is specifically designed for RC car bodies, usually polycarbonate paints. Start with a clean surface and apply a base coat. Mask the areas you don’t want painted, and spray thin layers, letting them dry in between. It’s vital to work in a well-ventilated area and use consistent strokes for an even coat. Remember, patience is key to achieving a professional look.
Applying Decals and Stickers
Decals and stickers add a personal touch and can mimic real-world racing aesthetics. Apply decals on a smooth surface for best adhesion. Position them carefully before removing the backing and use a squeegee to remove any air bubbles. Be creative with the placement, but also consider the symmetrical balance to maintain a cohesive design.
Customization Options
Beyond painting and decals, you can explore other customization options to build a RC car that stands out. These can include adding LED lights for night driving, custom wing spoilers for improved aerodynamics, and changing wheel rims for a different look. Each addition not only enhances your car’s style but can also have practical benefits. Think about the overall theme you want to achieve and how each custom element contributes to that vision.
By the end of the body and aesthetics stage, your RC car will have taken on a distinct personality reflective of your creativity. Make sure every customization aligns with how to build a RC car that’s not just attractive but also functional on the track.
Final Assembly and Quality Checks
The last stage in learning how to build a RC car involves final assembly and thorough quality checks. Precision is key; make sure every part fits as it should. The hard work pays off when every piece comes together to form a well-constructed vehicle.
Ensuring All Components are Secure
After assembling the RC car’s body and electrical system, it’s crucial to ensure that all components are secure. Double-check that screws are tight and that there’s no loose wiring that could interfere with the car’s operation. Inspect the chassis, making sure that the wheels are correctly installed and the suspension system is properly set up. Check the motor mounting to confirm it’s firmly in place.
Testing Steering and Throttle Response
Before taking your RC car for its first spin, test the steering and throttle response. Turn on the car and the remote control. Observe how the steering servo responds to commands. Does the car turn left and right without delay? Gently test the throttle; the car should move forward and back smoothly. Address any lag in response or unusual noises right away. Testing ensures your car is ready to race or roam around reliably.
Tuning and Maintenance
After assembling your RC car, tuning and maintenance are essential to keep it performing at its best. Regular tuning ensures your car remains stable and responsive, while maintenance keeps your investment running for years.
Adjusting Alignment and Suspension
Alignment and balance are crucial for an RC car’s performance. Check the alignment of the wheels regularly. They should point straight ahead when the steering is neutral. Follow the manual for adjusting the tie rods to fine-tune the wheel alignment. Check the suspension system for even balance. Adjust the tension in the shock absorbers if the car leans to one side. Proper alignment and suspension tuning will make your car handle better and reduce tire wear.
Routine Cleaning and Lubrication
A clean RC car is a happy RC car. Remove dirt, dust, and debris after each use. Pay special attention to the moving parts. These parts can gather grime, which can cause wear or damage. Use a soft brush and a damp cloth for cleaning. Lubricate bearings, gears, and other moving components regularly. Use a lubricant made for RC cars. This reduces friction and prevents overheating. Keep the battery contacts and other electronic parts dry and corrosion-free.
Routine maintenance includes checking screws and fasteners to ensure they’re tight. Parts can loosen over time, especially after driving on rough terrain.
By following these tuning and maintenance steps, you’ll learn how to build a RC car that lasts and performs its best. Remember, the most successful RC enthusiasts are those who take the time to care for their machines.
