Choosing the Right Brushless Motor
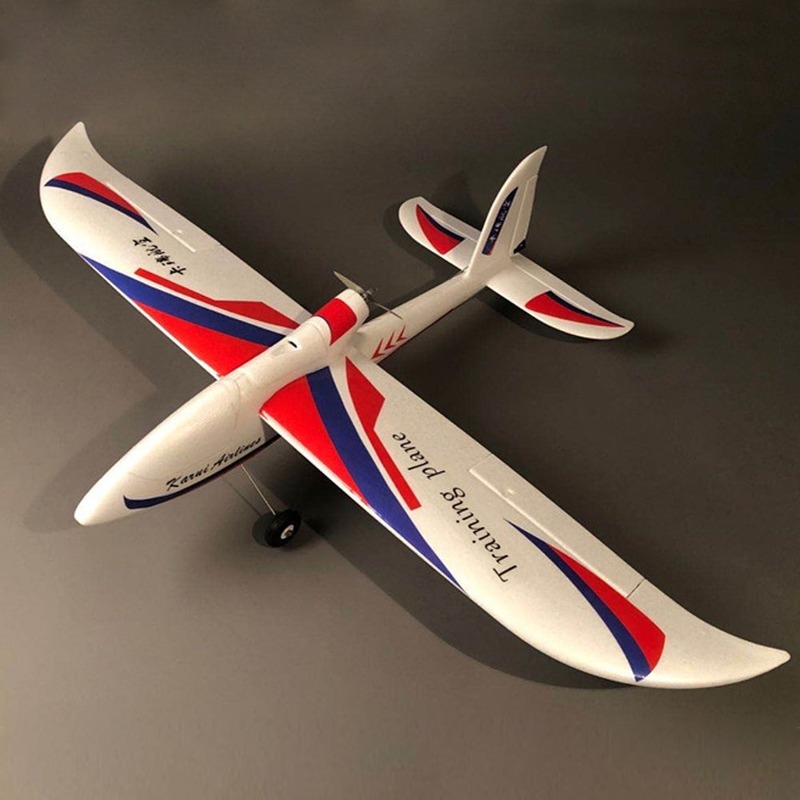
Selecting the optimal brushless motor is crucial for building an RC planes for beginners. The motor must match the plane’s size and the flying speed you desire. It also needs to provide sufficient thrust and allow for your preferred flight duration. When choosing your motor, two critical factors to consider are the KV rating and the motor’s size. Proper selection ensures balanced performance and longevity of your RC aircraft.
Understanding Motor KV Ratings
Motor KV rating refers to the number of rotations per minute (RPM) per volt. A lower KV means that the motor is stronger and can handle a larger propeller. This results in more thrust but typically slower flight speeds. For beginners, a slower flying plane can be easier to control. So, a motor with a KV rating between 850kv and 1500kv is ideal for newcomers.
KV ratings are key in determining how you want your plane to perform. Want a fast plane? Go for a higher KV motor with a smaller propeller. Prefer a more leisurely pace? Choose a lower KV motor with a bigger propeller. Keep an eye on KV ratings to tailor the flying experience to your preferences.
Determining Motor Size for Your RC Plane
Motor size impacts your plane’s weight and the impact it can withstand in crashes. Beginners often choose motors that are too large, resulting in heavy and fast-flying planes prone to breaking in crashes. A lightweight and slower plane is generally more forgiving and less likely to be damaged.
For small trainers with less than a 36-inch wingspan, a 24-gram motor is adequate. The Turnigy 1300kv 24 gram motor comes recommended for its balance of thrust and efficiency. However, this motor may not suit larger planes. Mid-sized aircraft, with wingspans of 36 to 60 inches, perform well with motors weighing between 30 and 70 grams.
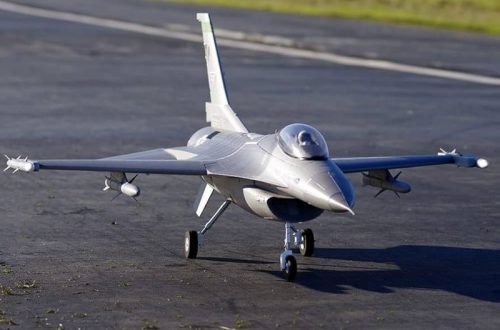
Doing your research is essential. Read reviews and comments before buying a motor. Stay away from ducted fans if you’re just starting out. Once you’ve got more experience, you can explore these options for creating high-speed aerobatic jets. Remember, the right motor makes all the difference in your RC flying experience.
Selecting a Compatible ESC
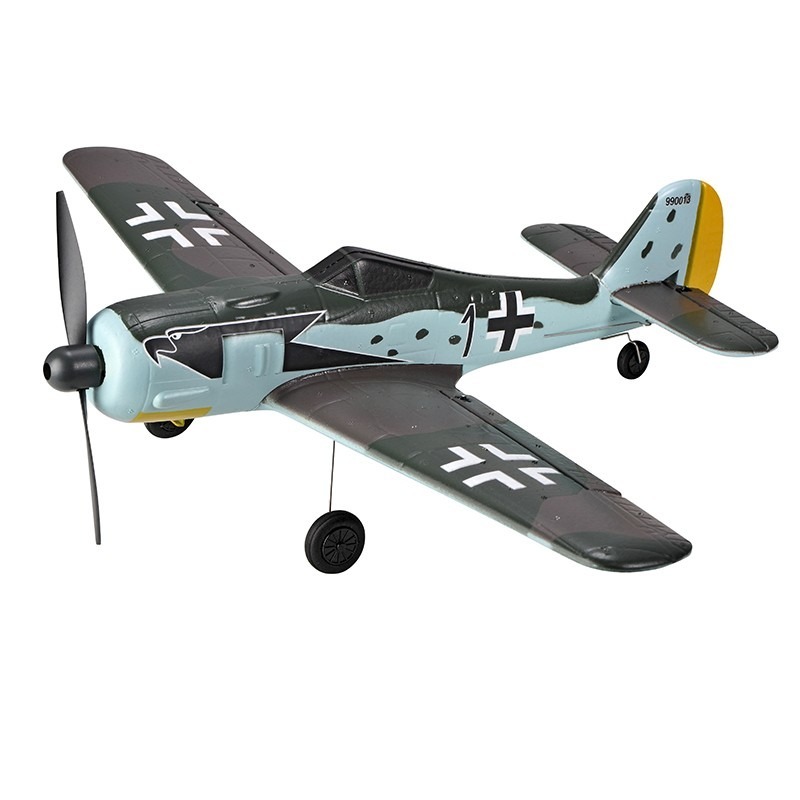
Selecting the right ESC (Electronic Speed Controller) is as important as the motor itself.
Matching ESC with Motor Specifications
An ESC regulates the motor’s power and speed. Match the ESC with the motor’s specs for peak performance.
- Check the motor’s requirements.
- Choose an ESC with a compatible amp rating.
Considering Amp Ratings and Safety Buffers
A higher amp rating ESC than the motor’s max current ensures safety and durability.
- Aim for an ESC rated 30% above the motor’s current draw.
- This buffer can prevent overheating and potential damage.
Remember, the ESC’s compatibility with your motor guarantees smooth operation and long-lasting enjoyment of your RC plane.
Picking the Appropriate Li-Po Batteries and Charger
Choosing the right batteries and charger is crucial for your RC plane’s performance and flight time.
Balancing Battery Size and Capacity
When selecting a Li-Po battery, consider its size and capacity. A larger battery can provide longer flight times but adds weight. A heavy plane is harder to control and can be damaged more in crashes. For beginners, a small to medium-sized battery (500mah to 1000mah) offers a good balance.
Deciding on the Number of Cells
The number of cells in a battery affects its voltage. A higher cell count (3S over 2S) means more power but also more weight. For most beginner planes, a 3S battery is sufficient, giving a mix of power and manageable weight.
The Importance of a Quality Charger
A reliable charger is essential. It ensures your batteries are charged correctly and safely. A good charger, like the Turnigy Accucell 6, can handle different cell counts and charge faster. Invest in a quality charger to keep your flying sessions safe and efficient.
Understanding Transmitters and Receivers
The Basics of Remote Control Frequencies
Remote control systems use specific frequencies to operate. The most common frequency for RC planes is 2.4GHz. This is because 2.4GHz can handle many users at the same time and has a wide range. When you start with RC planes for beginners, knowing about frequencies helps avoid signal interference.
For new flyers, a basic understanding of how remote control frequencies work is essential. The frequency is like a channel that connects your transmitter to the receiver in your plane. Make sure no one else is using the same frequency near you when you fly. This can prevent control issues.
Selecting the Proper Channels and Modes
Channels on a transmitter correspond to control functions on the plane. A 4-channel transmitter is enough for beginners. It can control throttle, elevator, rudder, and ailerons. More advanced pilots might want more channels for extra functions.
‘Modes’ refer to the layout of the transmitter controls. In North America, Mode 2 is standard, with the throttle on the left. Mode 1 has the throttle on the right. Stick with Mode 2 if you’re a beginner in North America.
Choosing the right transmitter and receiver is important. A good setup will help ensure your plane responds well during flight. Avoid buying complex equipment before you are comfortable with the basics. A simple, reliable transmitter and receiver will help you learn without unnecessary complications.
Servos and Control Surfaces
Choosing the right servos is vital to the performance of your RC plane’s control surfaces.
Choosing the Right Servos for Responsiveness
For effective control, opt for servos that are known for their reliability and precision. For instance, HXT900 servos from HobbyKing are durable and affordable, making them perfect for beginners. They provide the necessary responsiveness for elevators, rudders, and ailerons. Aim to balance quality with cost-effective options.
Servos come in different sizes and types. Small planes usually need 9-gram servos, while larger models may require more powerful ones. Metal-geared servos offer extra durability. It is smart to have spare servos on hand for replacements due to wear or crashes.
Connecting Servos to Control Elevators, Rudders, and Ailerons
Connecting servos is straightforward. Each control surface needs one servo. For example, the elevator and rudder each require a servo. For planes with ailerons, two servos (one for each wing) are essential.
Servos link to control horns with rods, allowing movement of the control surfaces. Ensure connections are secure, and rods are the correct length. After installation, testing is crucial. When you move your transmitter controls, the servos should react quickly and precisely.
In summary, responsive servos make for smooth and accurate flight control. Install them properly and always carry out a pre-flight check to ensure they’re functioning as expected.
Assembling the Additional Required Materials
Propellers, Pushrods, Connectors, and More
Building RC planes for beginners requires some additional small but essential components. Propellers are a must-have; they should match your motor’s recommended specifications for optimal performance. It’s wise to purchase extra propellers as they often break during landings or crashes. Pushrods, usually made from lightweight 18-gauge steel wire, transmit control inputs from the servos to the control surfaces. Ensure you have the correct lengths for your aircraft’s size.
Connectors are equally important. They secure the electrical connections between components like the battery, motor, and ESC. Common choices include XT-60 connectors or crimp-on varieties available from electronics retailers. Spare connectors are handy for repairs or modifications.
Also, consider servo extensions and Y-splitter cables if your design includes ailerons. These cables simplify wiring and provide flexibility in servo placement. Remember, having a well-organized and correctly connected electronics system will lead to fewer problems during your flights.
Selecting and Fabricating Durable Building Materials
Next, focus on durable building materials. Foam board is popular for its light weight and strength. Dollar Tree offers an affordable foam board that’s great for constructing the body of RC planes. Grab some Popsicle sticks and barbecue skewers too. They’re used for reinforcing structures and as mounting points for control surfaces and other components.
Every builder needs adhesives. A hot glue gun and packing tape are essential for assembling the plane and making repairs. They provide strong bonds and flexibility under stress. Heat shrink tubing is useful for insulating and protecting wire connections. It prevents shorts and maintains tidy wiring.
Lastly, always have a sharp utility knife or hobby knife. They will cut foam board cleanly for smooth assembly. With these materials and tools at hand, you can begin crafting your RC plane for a successful first flight.
Integrating and Testing RC Plane Electronics
When building your RC plane, the assembly and testing of electronics are crucial steps. This phase requires careful attention to avoid any damage and to ensure a successful maiden flight. Here’s how to safely integrate and test your RC plane’s electronics.
Safe Procedures for Connecting Motor and ESC
Safety is the top priority when connecting your motor to the ESC. Start by making sure your workspace is clear. Identify the three motor wires. Attach a male connector to each one. The ESC has three female connectors. They should match the motor wires. Connect them, but don’t mix up the colors. Red is for positive, and black for negative.
Check your ESC specs before connecting it to your motor. It should handle the right current. Double-check the polarity as you wire the ESC to the battery. Positive goes with positive, negative to negative. Incorrect wiring can cause short circuits or fires.
Lastly, ensure the ESC is not powered while you make connections. You should also keep your transmitter turned off. Accidental activation can spin the motor, posing a risk of injury.
Final Testing before Takeoff
With the connections in place, you’re almost ready for takeoff. First, bind the receiver to your transmitter. Following instructions is key here. Power on your transmitter and receiver. Check that the binding is correct. The receiver’s LED should stop blinking. They’re now linked.
Then, test the motor’s rotation direction. You want it spinning counter-clockwise from the rear. If it’s wrong, switch two motor wires. Do this carefully. Now, test the throttle. Slowly increase the power. The motor should respond without jerking or stuttering.
Install your propeller and servos last. This prevents injuries during tests. Test each servo by moving the transmitter sticks. Your controls should move smoothly.
Run through each step methodically. A well-tested electronics setup gives you control confidence. With careful testing, you’re one step closer to flying your self-built RC plane.

Recommendations for Scratch-Built RC planes for beginners
For early success, choosing the right model to build is key. Beginners should look for models that are known for stability and straightforward flying characteristics. Simple designs with fewer complicated features help new enthusiasts learn without feeling overwhelmed. The choice of model will affect not just the ease of flying but the simplicity of the build and the resilience to crashes, which are inevitable as skills develop.
Evaluating Different Model Options for Beginners
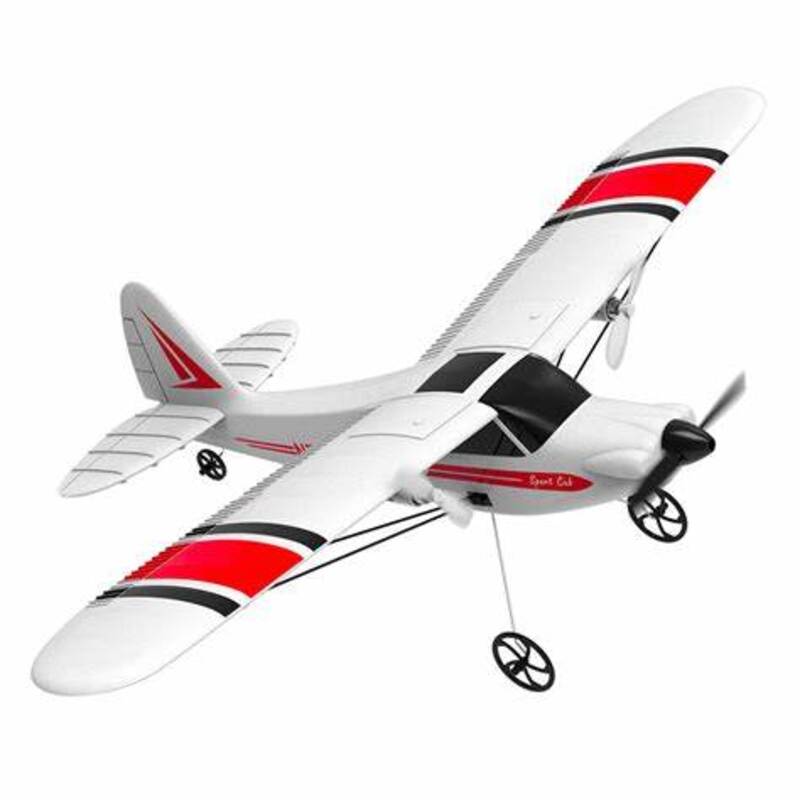
To start, focus on models with high wings and stable flight patterns. Planes like the traditional ‘Cub’ design or a ‘high-wing trainer’ are great picks. They have forgiving flight behaviors, making them less likely to tip-stall or dive in sharp turns. Look for planes with a gentle glide slope, as these allow more time for corrections when learning to land.
Avoid complicated models with fast speeds or advanced acrobatic capabilities. These can be difficult to control and might lead to frequent crashes. Beginning with a slower, more stable plane means more flying and less fixing.
Determine the size of the model. Smaller planes can fly in more places but are sensitive to wind. Larger models can handle wind better but may require a larger flying area. Consider your available space and typical weather conditions when choosing.
Resources for Finding Plans and Tutorials
Several resources exist to help beginners find perfect plans and tutorials for their first scratch-built RC plane. Online communities like FliteTest.com offer a wealth of information, free plans, and step-by-step tutorials for a range of models fit for beginners. Their flight tests and build videos are invaluable for learning.
For visual learners, YouTube channels dedicated to RC hobbies can be a great help. They provide real-time guidance on building techniques and flying tips. Make sure to check reviews and comments to gauge the difficulty level of the build.
Local hobby shops and RC clubs can also offer advice on good starter models. They may even run workshops or have experienced members who are willing to share their knowledge. Engaging with the RC plane community can lead to helpful tips and potential mentorship.
To sum up, research and pick a beginner-friendly model, use available online and local resources, and step into the hobby with enthusiasm and patience. Enjoy the journey to achieving your first successful RC flight!
